
How to Make a Digital Business Card (Step by Step, 2026)
A practical, tool-agnostic guide to making a digital business card: decide content first, choose a maker on five criteria, build from a template, test before publishing, then share it.
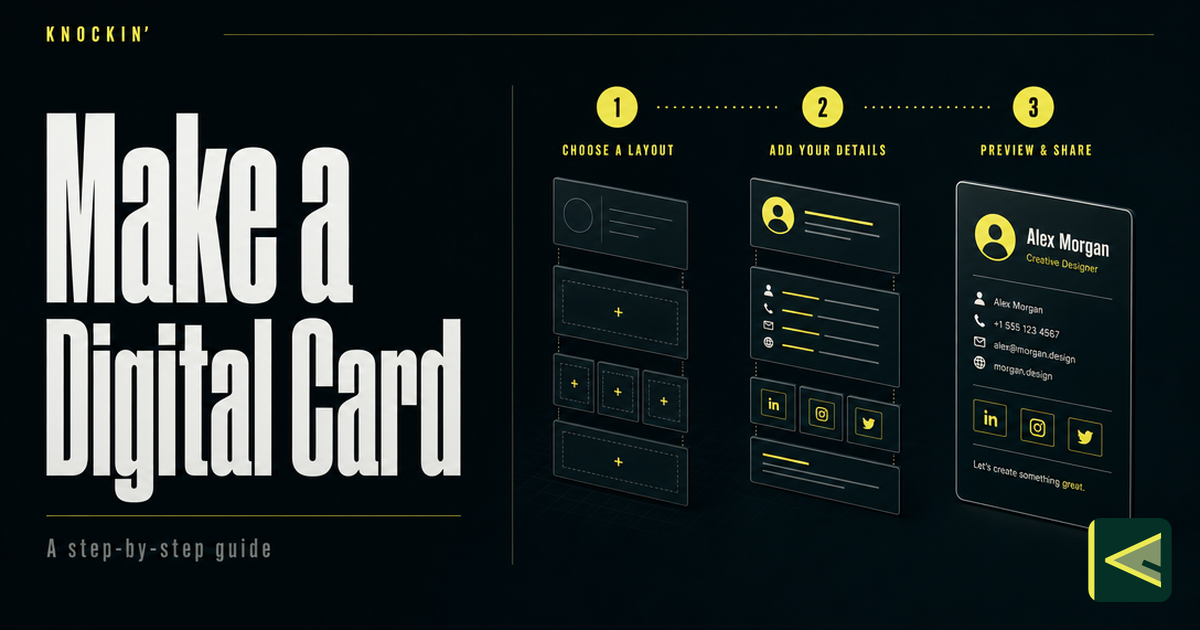
Making a digital business card takes longer to think about than to do. Once you know what goes on the card and which tool will hold it, the build itself is usually twenty to thirty minutes — and the card keeps updating after that, which is the part paper never managed. This guide walks the whole path in the order that actually causes trouble: what to decide before you build, how to choose a tool, the five build steps, the test pass almost everyone skips, and how to put the finished card in front of people.
The steps below are tool-agnostic — they work in any card maker — and where a concrete example helps, we'll use Knockin, a card maker whose cards can also answer questions about you. New to the category? Start with our primer on what a digital business card is; the short version is a live, shareable page that holds your contact details and updates without a reprint. Curious how Knockin fits into it? We introduced it here.
Decide What Goes on the Card Before You Build Anything
Before you open any tool, decide what the card will hold — this is the single decision that saves the most time later. In practice a strong card is short: your name, role, and company; one clear photo of your face; the two or three contact channels you actually monitor; and at most a handful of links you're willing to keep current. An empty field is better than a stale one, because every field you fill in is a small promise to the person reading it. Write the list in a notes app first, cut anything you'd be uncomfortable having someone click, and only then start building. For the full field-by-field walkthrough — what to include, what to skip, and how much is too much — we wrote a separate guide on what to put on a business card.
Step 1: Choose a Tool That Matches How You Meet People
The tool question comes down to one thing: where do the people you want to reach actually meet you? If most of your introductions happen in person at events, you need fast sharing from a phone. If they happen over email and LinkedIn, you need a link that lands well on a desktop. If they happen when you're not in the room at all — someone finds you at 11 p.m. through a friend's referral — a static page ends the conversation right where it starts, while a card that can answer questions keeps it going. For a longer look at the mechanics behind these differences, see how digital business cards work.
Your main options are dedicated card apps, general design tools, standalone QR-code generators, and physical NFC cards. The design-tool route produces a beautiful static image — one that can't update, can't capture anything, and has to be re-exported every time your title changes. Standalone QR generators tie the code to whatever URL you give them, and free plans often can't change it later. Dedicated card makers host a live profile that updates in place, and the best of them let you start for free. Before you commit, check the tool against these five questions:
| What to check | What to look for |
|---|---|
| Free tier | Can you build and share a real card without paying — not a watermarked trial? |
| Update flexibility | Can you edit details after publishing, with the link and QR code staying the same? |
| Sharing options | Does it cover the channels you'll actually use: link, QR, Wallet, NFC, widget? |
| AI capability | Can the card answer questions from your own materials when you're not there? |
| Recipient experience | Does it load fast on a phone, with no app download and no account required? |
Score the tools you're considering against those five rows and the right choice usually falls out on its own. If the last row — a card that answers — matters to you, read up on AI business cards before deciding. Knockin sits in that group: you can start for free with no credit card, and the card is live in minutes [Source: https://knockin.info/]. Whatever you choose, pick a tool you can stay with — the value of a live card comes from staying in it for years, not from the first week.
A note on the free tier, since that's the first row for most people: a free plan that expires in fourteen days is a trial, not a tier. What you want to know is what stays free forever — usually a live card holding your core details — and what sits behind payment, such as analytics, team features, or AI usage. The update row deserves the same scrutiny: some QR generators only let you re-point a code on a paid plan, and editability is precisely the capability that makes a digital card worth having over a printed one.
Step 2: Gather Your Content in One Place
Building goes fastest when you don't stop midway to hunt for things. Before you start, put everything in one folder or note: a current headshot, your exact title and company name, the links you settled on earlier, a two-to-three sentence bio, and any files a serious contact might ask for — resume, portfolio, company deck, case studies. Time-box this to fifteen minutes; if a file takes longer than that to find, it probably doesn't belong on the card. Keep the folder when you're done — it becomes the source of truth you return to at every update, and the same materials transfer intact if you ever switch tools.
The same triage rule from the content decision applies here: three useful links beat ten you never check. A visitor who clicks a dead portfolio link does learn something about you — just not the thing you wanted them to learn.
Tools differ in how much of this material they can use. Most card makers take the typed details and links and stop there. Knockin also reads: during onboarding it pulls the website URL you provide into its knowledge base, and it accepts file uploads — PDF, MD, DOCX, TXT, MP3, JSON, up to 10 files at 25 MB each — which become the raw material the card draws on when it answers a question. If you're using Knockin, the step-by-step version of that flow lives in how to use Knockin.
Step 3: Build the Card
Start from a template, not a blank canvas. A template settles the layout argument — where the name sits, how the links stack, how the card behaves on a phone — so you only decide the things that matter: colors, type, and what leads. Match the card to the visual presence you already have, whether that's your company's site or your LinkedIn banner; a card that clashes with everything else you've published reads like it belongs to a different person.
The build order that works: photo first (one clear headshot, not a logo — people connect with faces), then your name and role spelled exactly the way you want them repeated back to you, then contact fields, then links. Check the phone preview more often than the desktop one, because that's where most first visits happen. Two design rules carry most of the result: contrast high enough that your name reads on a small screen in daylight, and a font hierarchy strict enough that a visitor's eye lands on your name first and your links second. Everything past those two rules is taste.
In Knockin, this step is the Card Editor. You choose from 8 templates, each with 15 preset color themes plus custom colors and image backgrounds [Source: https://knockin.info/templates], and set fonts for your name and body text separately. Profile Layout holds your avatar, name, roles, and company; Contact Details holds the fields visitors actually use to reach you; and Showcase highlights up to ten projects or links worth a click. If your card has an AI layer — in Knockin it's called your concierge — the build is also where you choose its persona: the name, tone, and opening line people will meet. One detail worth knowing early: edits save as drafts and don't touch the live card until you publish.
Step 4: Test Before You Publish
This is the step nearly everyone skips, and it's the cheapest one to do. Open the card on your own phone and click every single link and contact field yourself. Then hand the card to someone who doesn't know your work — a friend, a colleague from another team — and watch them use it without helping. Where they hesitate is where strangers will leave.
If your card answers questions, testing matters more, not less. Interrogate it the way a stranger would: What do you charge? Who have you worked with? Can I see an example? Every wrong answer you catch in preview costs minutes to fix. Every wrong answer a real prospect catches costs the conversation — an AI card that confidently says something untrue about you is worse than no card at all.
What testing reveals, fix in categories. A broken link or a misaligned photo is a five-minute edit, so just make it. A wrong or vague answer is more interesting: either your materials don't contain the information, in which case add it, or the card is improvising beyond them, in which case tighten the boundary. Most tools let you correct an answer on the spot; the good ones remember the correction.
Knockin builds this step into the product: Chat Preview lets you ask questions as a visitor would, and a correction you make on the spot becomes Taught by You knowledge that applies to live chat immediately. The product's whole flow is named for this — Build, Refine, Share — because a card that speaks for you has to be tested before it's allowed to. We cover the refine loop, including what to teach and what to leave alone, in the Knockin walkthrough.
Step 5: Share It
A finished card nobody can find is just a business card in a drawer, only cheaper to make. Put it where you already are: a QR code on your phone or laptop that scans from across a table (how QR sharing works), the link in your email signature and LinkedIn bio, the card saved to Apple Wallet so it's two taps away at an event, an NFC card or tag for in-person taps, and a home-screen widget if your maker offers one. Start with the two channels you use every day and add the rest over a week — sharing works as a habit, not a launch event. For the full distribution playbook, see how to share your digital business card.
Your Pre-Launch Checklist
Run this before you send the card to anyone who matters:
- Open the card on your phone and on a desktop — both should load fast and look intentional.
- Tap every link, phone number, email, and social icon; fix anything that 404s or opens the wrong place.
- Read your name, title, and company out loud — spelled exactly as you want them repeated back to you.
- Check that the photo renders crisp, correctly cropped, and unmistakably you.
- Send the card to one person on a different device and watch them save your contact without instructions.
- If the card answers questions, ask it five questions a stranger would ask — including one you'd rather not answer.
- Scan your own QR code from a printout and from another screen.
- Confirm old links still work, or remove them.
If all eight pass, publish. In Knockin, that's the Publish changes button — until you press it, the live card hasn't moved.
Four Common Mistakes
Skipping the photo. The most-rushed field on any card is the one that does the most work. A logo is not a face; people decide whether to trust a card within seconds, and a clear headshot is the fastest credibility signal you have. If the only photo you own is a crop from a group shot, take five minutes and find a plain wall — it's worth more than any template upgrade.
Listing channels you never check. A phone number that always hits voicemail and an email you open monthly are worse than empty fields, because they convert interest into silence. Keep the two or three channels you genuinely monitor and drop the rest; an empty field reads as a choice, a dead one reads as neglect.
Publishing without a test pass. The card that looks perfect in the editor on your laptop can carry a broken link, a stretched photo, or — with AI cards — an answer that misrepresents you. The fifteen-minute test pass in step four catches all three. Skipping it doesn't save time; it just moves the discovery to a moment when someone is watching.
Treating launch day as the finish line. A digital card's whole advantage over paper is that it updates. Claim the advantage: when your title changes, when the portfolio grows, when you learn what visitors actually ask, edit and republish. Most cards that fail don't fail at launch — they slowly go stale, and going stale is paper's only remaining trick.
Conclusion
Making a digital business card is a small project with a long tail: an afternoon of decisions, then years of small updates that keep the card true. The steps that matter most are the ones people skip — deciding the content before building, choosing a tool you can live with, and testing before anyone else sees the result. Do those three and the rest is mechanics. And if you've been putting this off because it sounds like a design project, notice what the steps actually asked of you: content decisions, one honest test pass, and two sharing habits. A card behaves more like a kept-up profile than a printed artifact.
If you want a card that goes one step further — one that answers questions about you while you're offline, collects the conversation, and hands back anything that needs your judgment — build one with Knockin. It's free to start, needs no credit card, and you can have a live card in minutes.
Related Posts
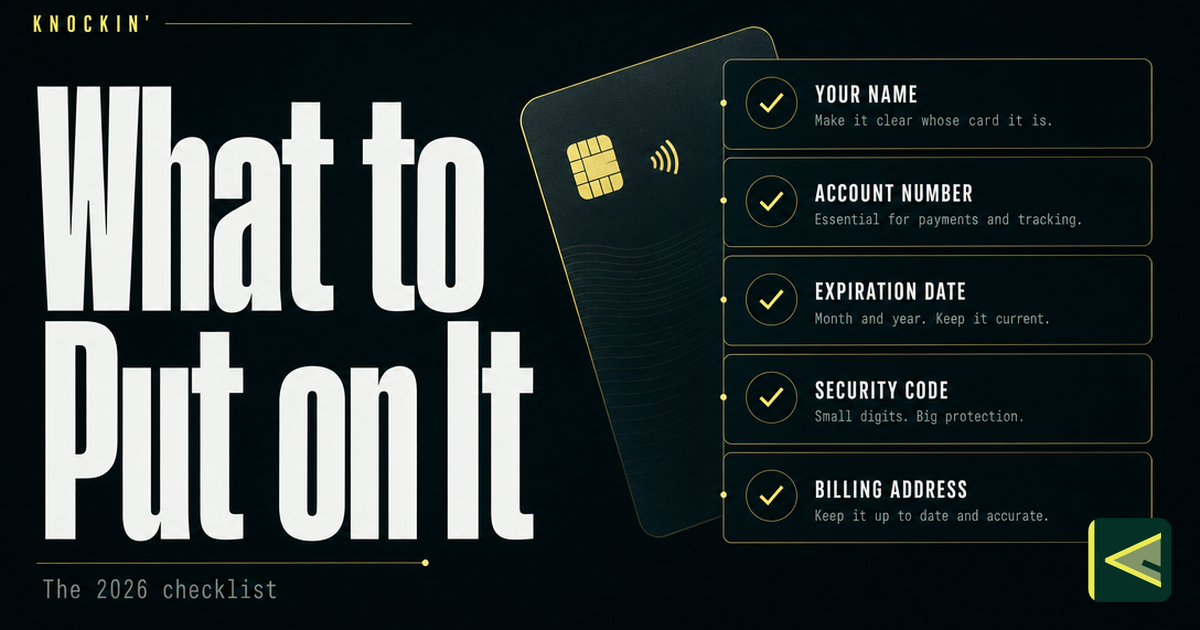
What to Put on a Business Card in 2026 (and What to Leave Off)
The complete checklist for what to put on a business card — five essentials, the modern optional layer, an honest leave-off list, and what…
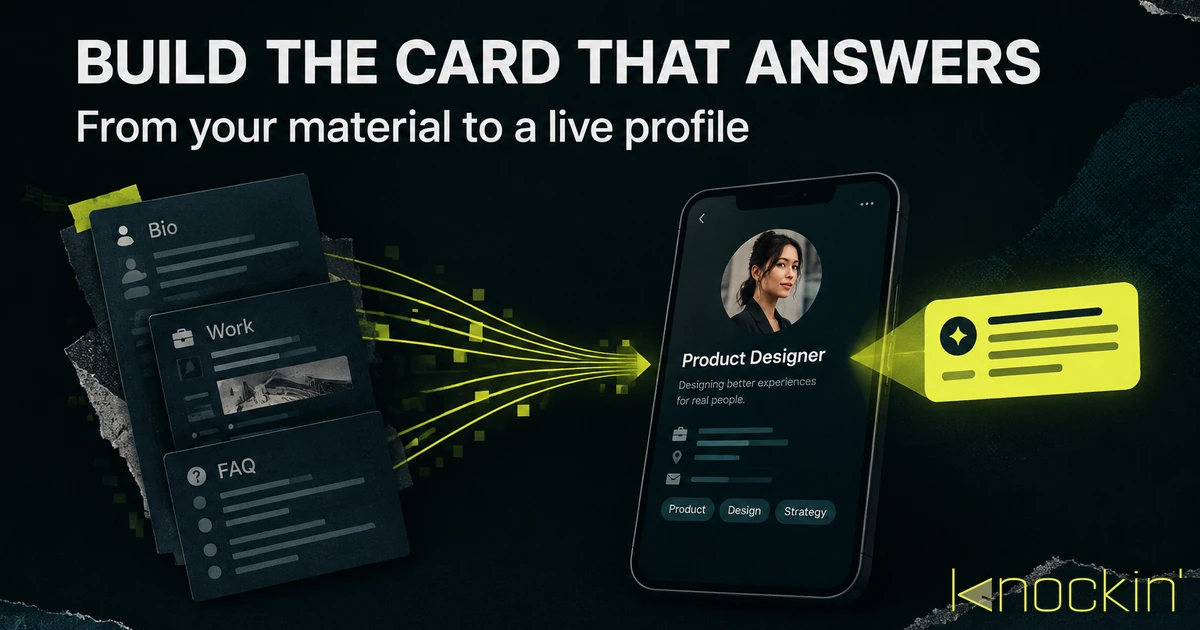
How to Create an AI Business Card (Step by Step)
A practical walkthrough for building a business card that answers questions for you: what material to gather first, how to set up and train…
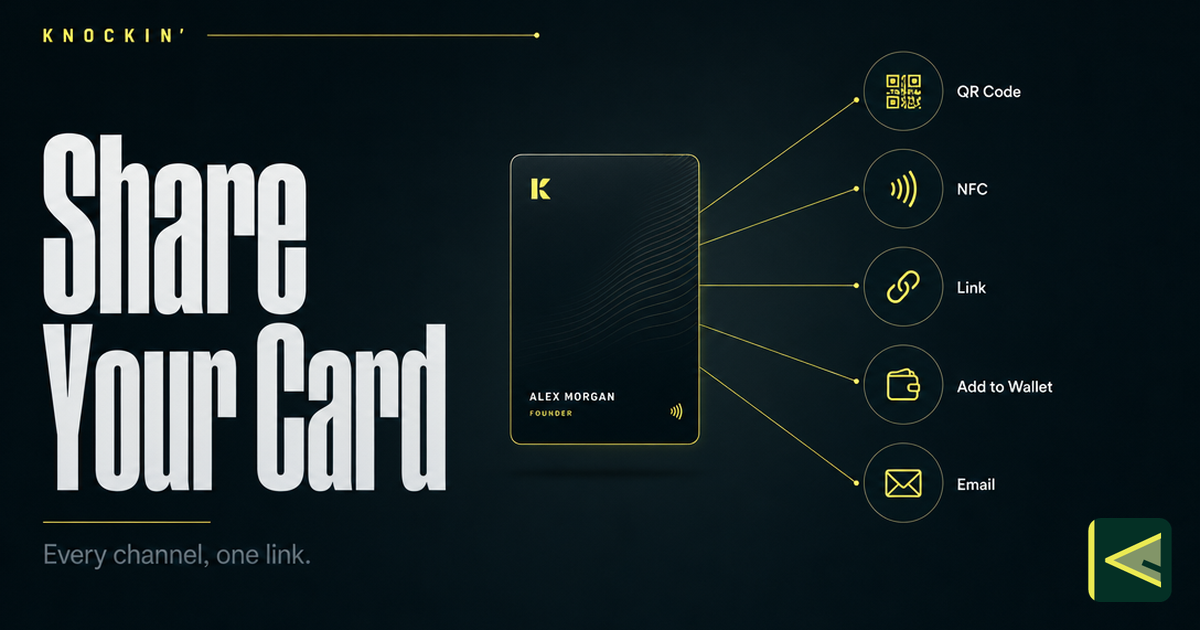
How to Share a Digital Business Card: Every Way to Connect
Seven ways to share a digital business card — QR code, NFC tap, plain link, phone wallet, email signature, website widget, and social bio —…
Frequently Asked Questions
How long does it take to make a digital business card?
Can I make a digital business card for free?
Do I need design skills to make one?
Can I update my digital business card after sharing it?
Your bio can finally answer back
Turn what you already know into an intelligent bio card that answers when you're not there.
Build, refine, and share in minutes — no credit card required.
https://knockin.info/blog/how-to-make-a-digital-business-card